Building your gaming PC isn’t just a task; it’s an exhilarating journey where you transform a collection of components into a powerhouse for gaming. In this guide, we’ll walk you through the process, ensuring you not only get top-notch performance but also explore budget-friendly options without compromising on the thrill of gaming.
Step 1: Planning Your Build
Identify Your Gaming Needs
Before diving into the hardware, consider the type of games you want to play. Different games have varied system requirements, and tailoring your build to your preferences ensures optimal performance.
Step 2: Choosing the Right Components
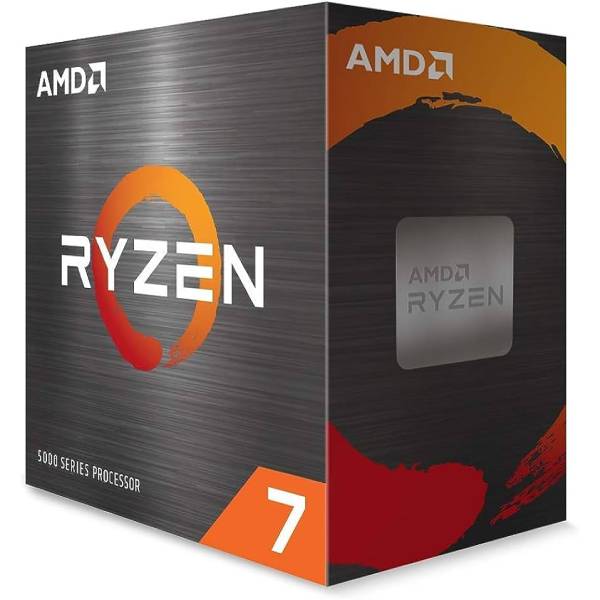
A. Processor (CPU)
For Top Performance: AMD Ryzen 9 5900X
For Budget-Friendly: AMD Ryzen 5 3600
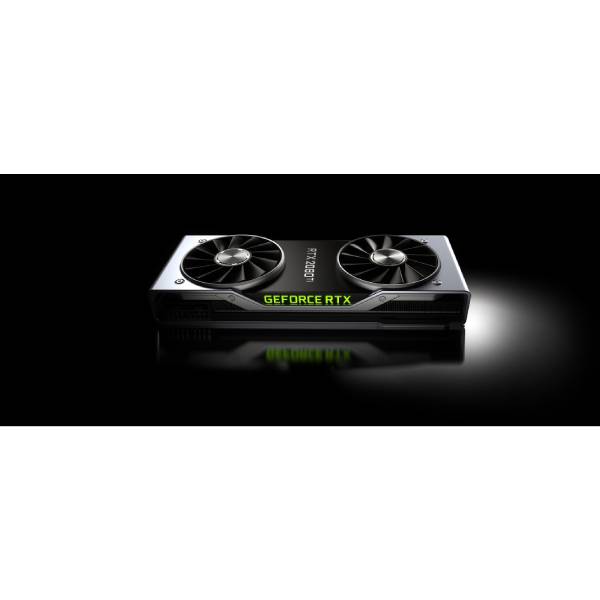
B. Graphics Card (GPU)
Top Performance: NVIDIA GeForce RTX 3080
Budget-Friendly: AMD Radeon RX 5600 XT
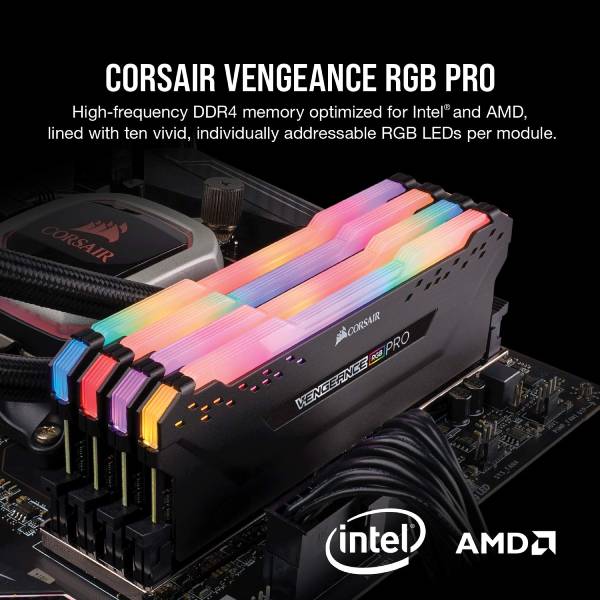
C. Memory (RAM)
Top Performance: Corsair Vengeance RGB Pro 32GB
Budget-Friendly: Crucial Ballistix 16GB
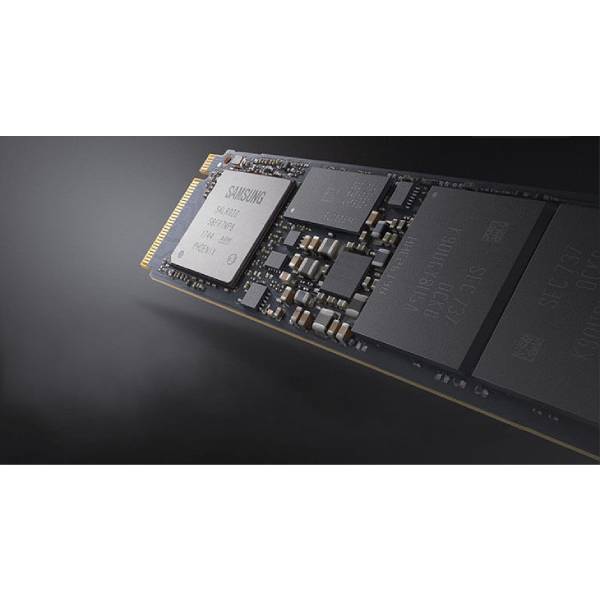
D. Storage
Top Performance: Samsung 970 EVO Plus 1TB NVMe SSD
Budget-Friendly: Crucial MX500 500GB SATA SSD
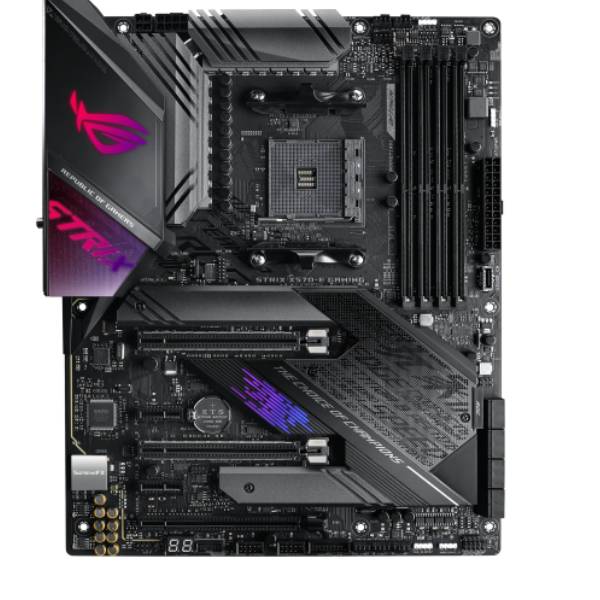
E. Motherboard
Top Performance: ASUS ROG Strix X570-E Gaming
Budget-Friendly: MSI B450 TOMAHAWK MAX
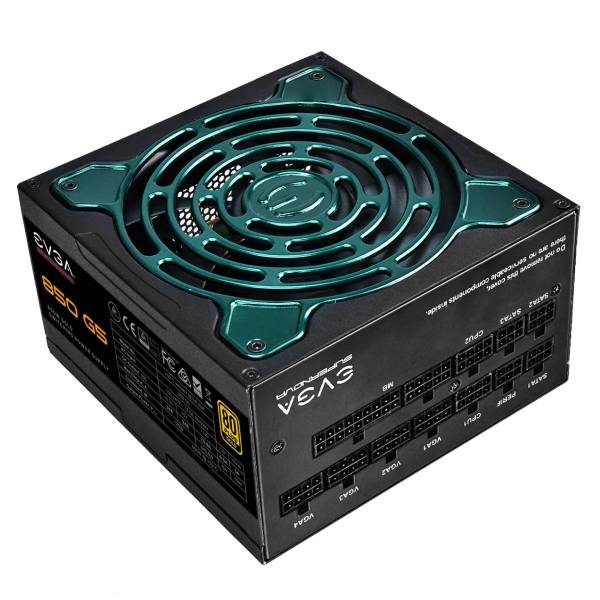
F. Power Supply (PSU)
Top Performance: EVGA SuperNOVA 850 G5
Budget-Friendly: Corsair CV550, CV Series, CV550
G. PC Case
Top Performance: NZXT H510i
Budget-Friendly: Cooler Master MasterBox Q300L

Step 3: Assembling Your Gaming Rig
A. CPU and RAM Installation
Carefully install the CPU into the motherboard socket and secure your RAM sticks in the designated slots.
B. GPU Installation
Seat your graphics card in the PCIe slot and secure it with screws.
C. Storage Installation
Connect your SSD or HDD to the motherboard using SATA cables.
D. Motherboard and PSU Connection
Mount the motherboard in the case and connect the power supply to the motherboard, GPU, and drives.
E. Cable Management
Tidy up your cables to ensure optimal airflow and aesthetics.
Step 4: Installing the Operating System
Create a bootable USB drive with your preferred operating system, and follow the on-screen instructions for installation.
Step 5: Installing Drivers and Software
Visit the official websites of your components to download and install the latest drivers for optimal performance.
Conclusion
Congratulations! You’ve successfully built your gaming PC, combining top-tier components with budget-friendly alternatives. Whether you’re conquering the virtual battlefield or immersing yourself in the latest AAA titles, your custom-built rig is ready to deliver the gaming experience you’ve always dreamed of.
Embark on your gaming adventures with confidence, knowing that you’ve not only built a powerful gaming PC but also made savvy choices to keep your budget intact. Get ready to dominate the gaming world!